Monday, March 3, 2014

Week 8: Canned Fava beans

Some weeks get away from you.  Or two, as the case may be!

Week 8 was a rough week here.  With my husband in sunny California, and us getting hit with two plowable snow storms during his absence, there wasn't a ton of time to focus on cooking, and certainly not posting!  So, this is behind...  I contemplated not posting at all.  Then I realized, this is exactly the kind of thing I should document.  A week of making do with what was on hand.  And so, I present my thrown together bean meal for two weeks ago...


Quinoa Salad with Canned Fava Beans

Ingredients:
  • 15 oz can Fava Beans
  • English Cucumber, ~half 
  • Grape Tomatoes, ~dozen 
  • Arugula, 5-6 oz
  • 1 cup dry quinoa, 
  • salt, to taste

Procedure:
  1. While prepping the rest of the salad, cook one cup of dry quinoa in 2.25 cups water (salt to taste) in a rice cooker.  I know there are other ways to cook quinoa, but this is the way I cook it.
  2. Chop cucumber and grape tomatoes. 
  3. When quinoa cooked and cooled, mix together with chopped cucumber, tomatoes, arugula and rinsed can of fava beans. 
  4. Salt to taste.
Notes:
I ate this for several meals (since my husband was away and there was lots of snow to manage) over salad greens, with olives.  It was quick, nutritious, and delicious.


Have a great week!

Friday, February 14, 2014

Week 7: Corona Beans (Sweet White Runner Beans)

Corona Beans.  Wow.  I may have a new favorite bean.

My cousin, Bria, asked if I'd tried Corona Beans.  Not only had I never tried them before, but I searched among the beans I'd ordered and I didn't have them.  A quick trip to amazon.com quickly changed this.

Sadly, I forgot to snap a picture of them before I soaked them.  But here they are post over-night soak...


For the recipe I intended to model dinner after, I needed plainly cooked beans.  After draining them from soaking overnight, I placed them in a pot, covered with a couple inches of water, brought to a boil and then lowered heat to a simmer.  After a couple hours, most of the water was cooked out and the beans were a delightful creamy texture. I took them off the heat, added ~1 teaspoons of salt and let them sit ~10-15 minutes.  Since most of the water was cooked out, I didn't need to drain them...


The recipe I was modeling after was also the recipe my cousin, Bria, recommended.  It can be found here, as part of Cookbooks 101.  Since proper preparation of kale is something I find hard to manage with four small children, I used a package of pre-prepped "Baby Kale", which was exactly the time saver I needed.  Incidentally, I also found a very similar recipe (but without the beans) inside the package...


In the end, I created a hybrid of the two recipes...


Pan-Fried Corona Beans with Baby Kale

Ingredients:
  • 12 oz cooked Corona Beans
  • 11 oz pre-packaged "Baby Kale" (or equivalent washed/stemmed kale)
  • 5 cloves garlic
  • oil for frying (olive or your choice)
  • salt, to taste

Procedure:
  1. Cook your Corona Beans (see above)
  2. Warm a skillet with oil.  Add beans in a single layer.  Cook 3-4 minutes then turn/stir to other side and cook 3-4 minutes more (beans will be slightly crispy).  (The 12 oz took two 12" skillet batches to fry.) Remove beans to side.
  3. Meanwhile, crush garlic cloves.
  4. Add another thin coating of oil to pan (or use another pan).  Once the pan is warm, add garlic for ~30-45 seconds.
  5. Add the entire 11oz of baby kale.  Cook until wilted.
  6. Add beans back to kale and mix, thoroughly. 
  7. Salt to taste.
Notes:
  • Serves beautifully over rice.

Pan-frying the two batches of Corona Beans...

Wilting the kale with the garlic...
 

Add the pan-fried beans to the kale... 

Ready to serve... 


Plated with rice...


This was superb.  I will be placing an order for more Corona Beans this week.  I can no longer imagine not having them in my pantry.  This was one of the best dishes I've made in ages.  While I greatly enjoyed the Christmas Lima Beans from Week 3, this, I believe, is my new favorite bean!

Have a great week!

Wednesday, February 5, 2014

Week 6: Marrow Beans

I took advantage of a delightful snow day to choose one of the beans I ordered from North Bay Trading Company for this week!  I have so many wonderful options in my box, I went with what my hand landed on...Marrow Beans.  Supposedly the fame of this particular bean is it tastes like bacon...I asked my husband if that was true and he said not so much, but they are tasty!

There were no particular recipes I found that spoke to me for Marrow Beans, so I sorted, soaked, and boiled them.  

They start out fairly small...


But plump up after soaking...


And, as expected, even more so after cooking...


Similar to when I made the Christmas Lima Beans in Week 3, I was not entirely certain what I was going to make with them yet, I decided to cook them plainly...after draining them from soaking overnight, I placed them in a pot, covered with a couple inches of water.  Brought them to a boil, then lowered the heat and they simmered ~2 hours, until soft.  I took them off the heat, added ~2 teaspoons of salt and let them sit ~10-15 minutes.  Finally, I drained them (reserving the liquid, as it was quite tasty...no idea what will become of it yet).

After searching the internet for ideas, I went with simple.  It was not amazing, but I have some ideas that will make leftovers better.


Pasta, Marrow Beans & Arugula 

Ingredients:
  • 12 oz cooked, drained pasta (I used cavatappi)
  • 3 cups cooked, well-drained, Christmas Lima Beans
  • 10-12 cloves garlic 
  • 1 teaspoon oil
  • Zima yellow grape tomatoes 
  • 4 oz fresh arugula
  • salt, to taste

Procedure:
  1. Cook pasta according to instructions on packaging. Set aside.
  2. Cook your Marrow Beans, plainly (see above)
  3. Peel and thinly slice garlic. 
  4. Warm oil in pot.  When warm, add sliced garlic and cook ~2-3 minutes.
  5. Add Marrow Beans and cook ~3-5 minutes.
  6. Add pasta, arugula and tomatoes.  Cook ~2 minutes.
  7. Salt to taste.
Notes:

  • Needs lemon juice cooked in...added between point 5 & 6, above.

The beans were good, but not one I feel the need to rush to find again.  I prefer cannellini beans, personally.  But they're a creamier bean than I anticipated they'd be while cooking. 


Have a great week!


Wednesday, January 29, 2014

Week 5: Canned Refried Beans, Cannellini, Black and Pinto Beans

I love cooking towards specific holidays and events.  So, while no one here actually watches the Super Bowl (aside from the commercials that we DVR to watch later), it does feel like an appropriate time for chili!  My recipe is heavily adapted from the original Weight Watchers "Spicy Turkey-Bean Chili" in Simply The Best (page 144, 1997)

I've made many chili recipes over the years.  I crave this one.  It's superb.  It can also be made vegan with Boca Crumbles... I simply sub Crumbles for the turkey, scale the Crumbles back and increase the beans...still superb!


Ariella's Four-Bean Chili

Ingredients:
  • PAM
  • 3 lbs lean ground turkey (or Boca Crumbles for a vegetarian version)
  • 2 large or 3 medium onions, chopped
  • 6-12 cloves garlic, minced, to taste
  • 1.5-2 Tablespoons ground cumin
  • 2 teaspoons chili powder
  • 1/4 + teaspoon cinnamon 
  • 3 bay leaves
  • ~1 Tablespoon salt (to taste)
  • 1+ Tablespoon(s) sugar
  • 1 15-oz can fat-free refried beans
  • 1 15-oz can pinto beans
  • 1 15-oz can black beans
  • 2 15-oz cans cannellini beans
  • 2 4-oz cans chopped green chilies
  • 1 8-oz can tomato paste
  • 3 15-oz cans diced stewed tomatoes

Procedure:
  1. Heat large dutch oven over medium heat.  Once warm, cover bottom of pot with PAM.  Add chopped onions, ground turkey (or Crumbles), minced garlic, cumin, chili powder, cinnamon, bay leaves and salt.  Cook, stirring as needed, until turkey is cooked through.
  2. Add refried beans and tomato paste.  Mix thoroughly.
  3. Add tomatoes, beans and chilies; bring to a boil.  Reduce heat and simmer, covered, stirring as needed, until flavors are well blended, ~1 hour.  Add sugar, to taste, once it has cooked a while, to get a better idea of how much to add.
  4. Will be tastier after 24-48 hours.
  5. Serve over rice or cole slaw, with a side of cornbread.  This is also delightful over a baked potato!


Have a great week!
Friday, January 24, 2014

Week 4: Canned Chickpeas

My good friend Karin gave me a recipe this week.  For Chocolate Chip Cookies from Deceptively Delicious: Simple Secrets to Get Your Kids Eating Good Food.  The trick...they had chickpeas in them.  Yes, chickpeas.  I couldn't help but be curious, and so I had to try them.

I followed the recipe, as seen below.  I didn't use the optional ingredients.  I made two dozen as the recipe called for and then I added dry finely grated coconut and made the remainder.  While I didn't love the original, the coconut addition is superb.  


Ingredients:
  • 1 cup firmly packed light or dark brown sugar (I used dark)
  • 3/4 cup trans-fat-free soft tub margarine spread (I used Earth Balance brand)
  • 2 large egg whites
  • 2 teaspoons pure vanilla extract
  • 1 (15-ounce) can chickpeas, drained and rinsed
  • 2 cups (12-ounces) semisweet chocolate chips
  • 3/4 cup chopped walnuts (optional - I didn't use)
  • 3/4 cup raisins (optionals - I didn't use)
  • 2 cups all-purpose flour
  • 1/2 cup old-fashioned oats
  • 1 teaspoons baking soda
  • 1/4 teaspoon salt
  • 1/2 cup unsweetened shredded coconut (my optional addition)

Procedure:
  1. Preheat the oven to 350F.  Coat a baking sheet with cooking spray.
  2. In a large mixing bowl or the bowl of an electric mixer, beat the sugar and margarine with a wooden spoon or on medium speed until smooth.  Beat in the egg whites and vanilla, then the chickpeans and chocolate chips.  Add the flour, oats, baking soda, and salt, and mix on low speed until a thick dough forms.
  3. Drop the dough by the tablespoonful onto the baking sheet, spacing the cookies about 2 inches apart.  Press gently with a fork to flatten.  Bake until the cookies are golden brown and just set, 11 to 13 minutes; do not overbake.  Transfer to a rack to cool.
  4. Store in an airtight container for up to 3 days.

Coconut version, ready to bake:

Plain version, baked:


Have a great week!

Wednesday, January 15, 2014

Week 3: Christmas Lima Beans

As seen in my most recent post, I placed a sizable order to North Bay Trading Company, which arrived this past week.  Staring at 32 different choices of what to try this week was a bit daunting.  And exhilarating.

After staring at the choices for longer than I had time to do so, I picked "Christmas Lima Beans".  They are beautiful beans!  


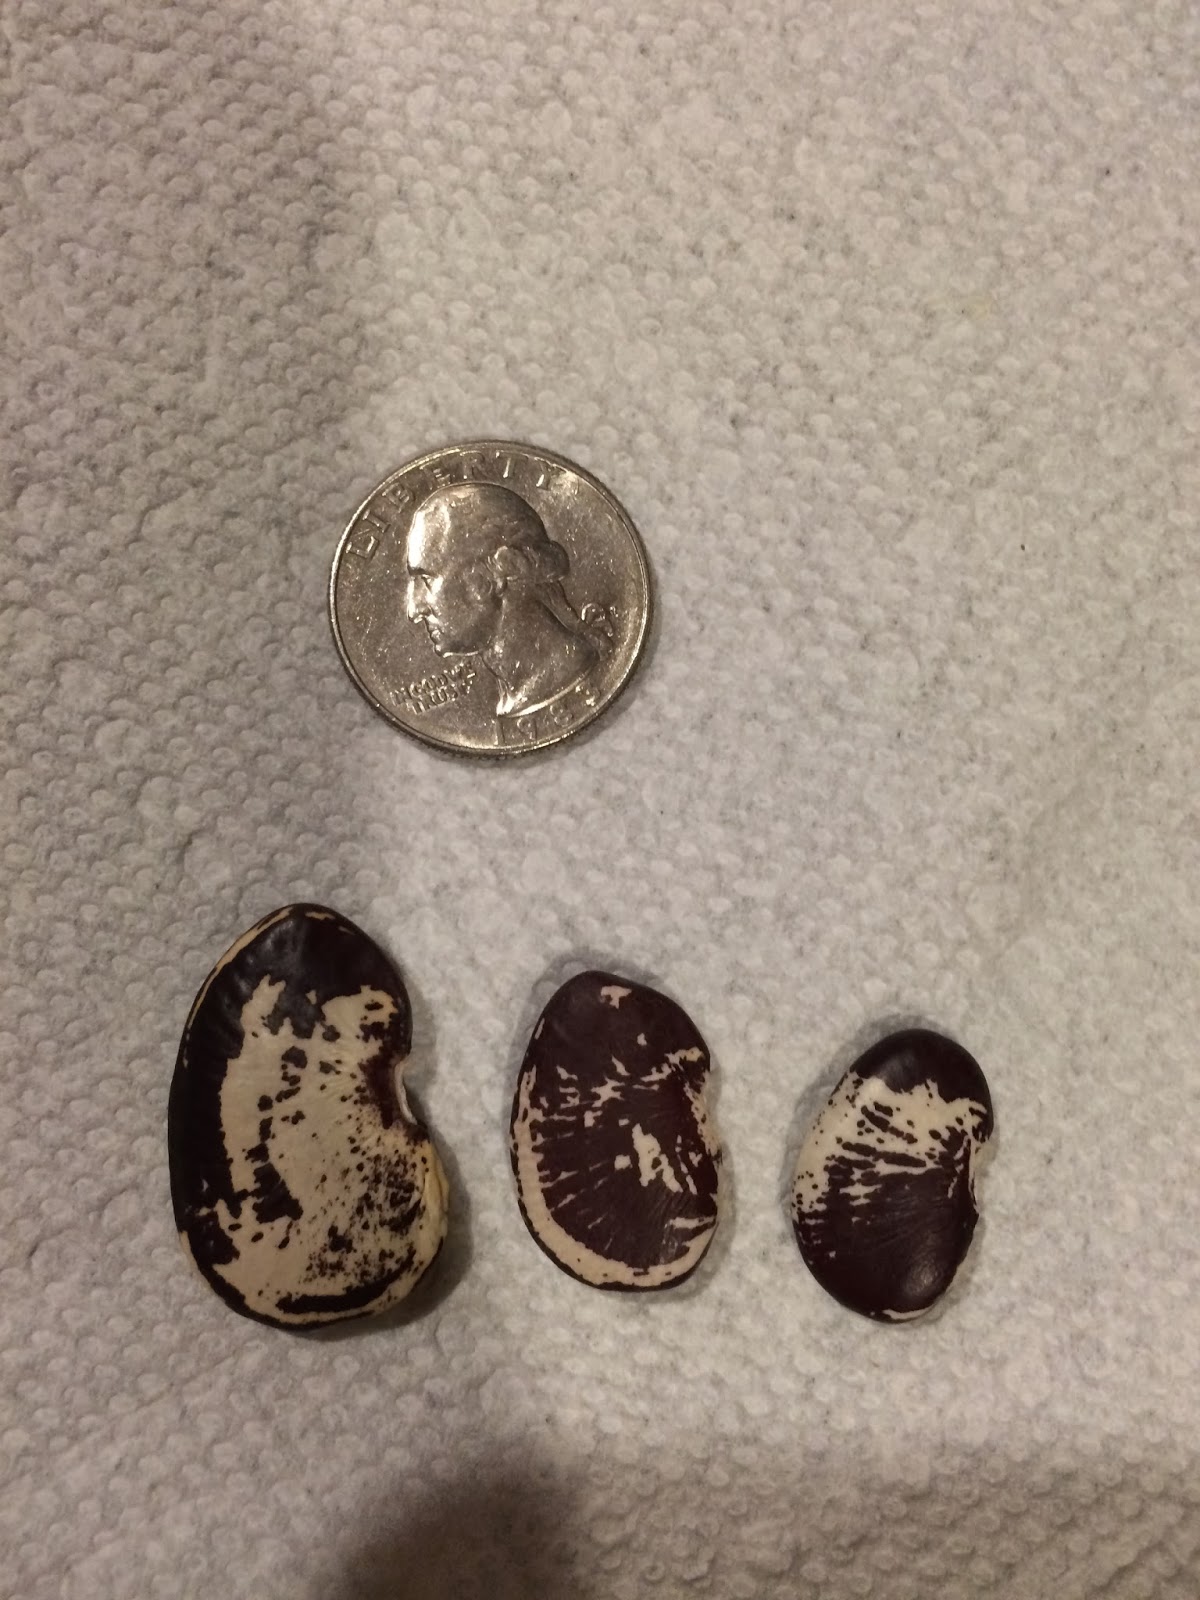
They are also Beans of Unusual Size:


I sorted, rinsed and then soaked overnight, at which point they became ginormous, and changed color slightly:


Not entirely certain what I was going to make with them yet, I decided to plainly cook them...after draining them from soaking overnight, I placed them in a pot, covered with a couple inches of water.  I added a bay leaf and brought them to a boil.  Then I lowered the heat and they simmered ~hour, until soft.  I took them off the heat, added ~2 teaspoons of salt and let them sit ~10-15 minutes.  Finally, I drained them (as I was certain I didn't need the soup-liquid).

They changed color once again, but were still beautiful.  And delicious.  They're nearly meaty, yet creamy, in texture with a nutty / chestnut flavor.  Did I mention they're delicious?


Well, that's all well and good, and I am certain I could eat the entire pound one by one as a snack, but that's not going to feed my family...so...  After searching, I had found a recipe on Culinate out of the book Heirloom Beans by Vanessa Barrington and Steve Sando.  The only problem is...I don't like beets.  Or at least not much.  And my husband feels even stronger against beets than I do.  But, I was intrigued with the idea of the recipe.  However, as I went the more it morphed from the original (for instance, after a taste-test, I can't imagine adding the dressing to my version) and into what follows, which is probably influenced by my Texan youth and love of guacamole...


Christmas Lima Bean, Quinoa and Avocado Salad

Ingredients:
  • 2 cups cooked quinoa
  • 3 cups cooked, well-drained, Christmas Lima Beans
  • 1 small red onion, finely chopped
  • 10-15 grape tomatoes, chopped
  • 2 avocados, peeled, seeded & chopped
  • salt, to taste

Procedure:
  1. Cook your quinoa (I use my rice cooker)
  2. Cook your Christmas Lima Beans, plainly (see above)
  3. Chop your red onion, grape tomatoes and avocado
  4. Mix all ingredients.
  5. Salt to taste.
Notes:
  • I am serving it with a green salad and corn chips.


Also, the three cups I put in this left me with ~3+ more!  Woo-hoo!! Some to snack on make something else with!


Have a great week!

Beans, Beans, Beans and Lentils, too!

Admittedly, I may have gotten a bit carried away.  After searching online for a place to order a variety of dried beans, my mother suggested North Bay Trading Company.  I may have spent too much time searching and too much money buying, but hey, this is my schtick for the year, right?  Right!

Shortly after placing my order (far faster their their "will-be-there-by" date) a heavy box arrived!  I was giddy.  Thankfully, I will spare you the picture of me being giddy.  But I will show you the contents!


That's right!  A total of 32 pounds of future goodness!  Twenty-five different beans and seven different lentils!  Yum, yum, yum! 

The biggest challenge is what to choose for Week 3!